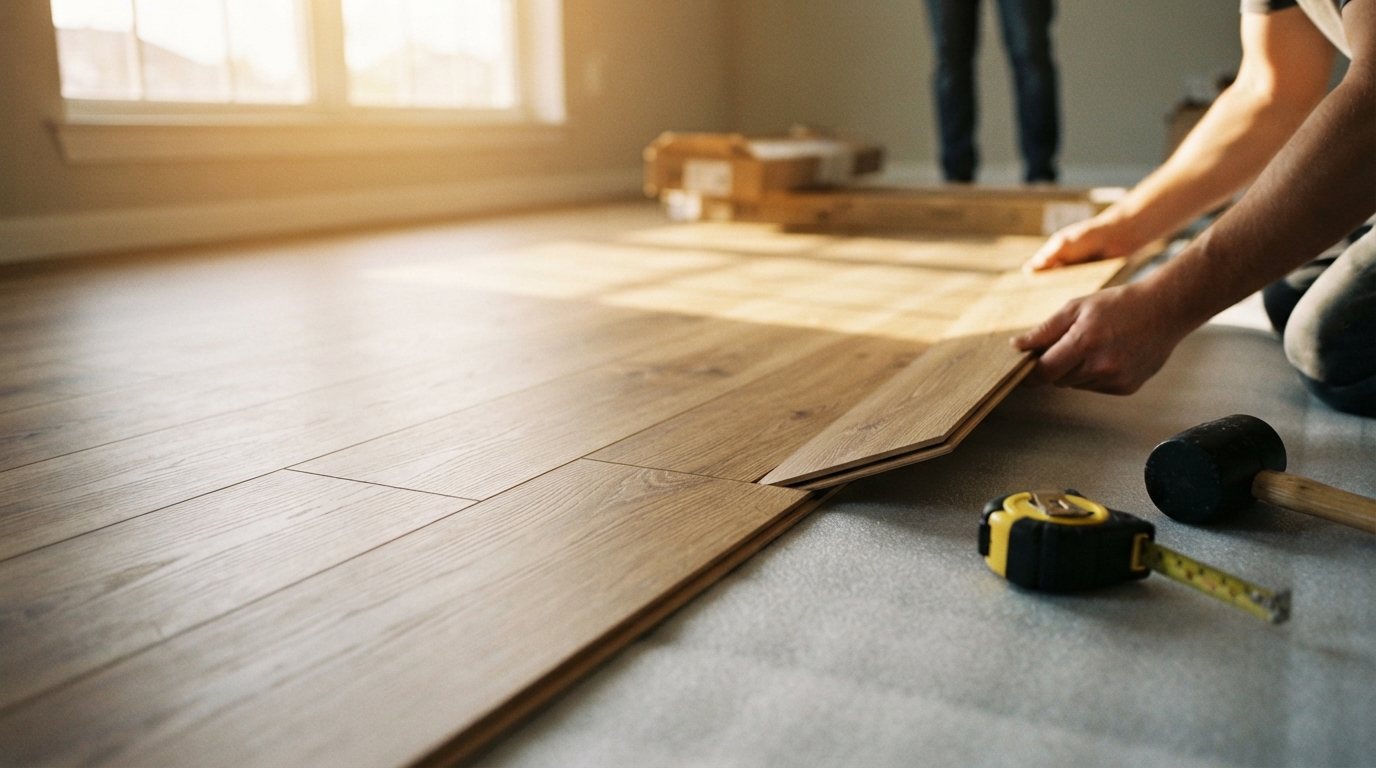
- A flawless laminate flooring installation depends on three fundamentals: flat, dry subfloors, correct acclimation time, and consistent expansion gaps along every wall.
- Moisture testing matters most in Torrance, CA homes with concrete slab foundations, since vapor migration is a leading cause of warped or buckled laminate.
- Professional installation reduces the risk of subfloor leveling mistakes, mismatched transitions, and voided manufacturer warranties.
A successful laminate flooring installation comes down to subfloor preparation, proper acclimation, and careful attention to expansion gaps before a single plank is clicked into place. Skipping any of these steps is the most common reason laminate floors buckle, gap, or fail prematurely within the first year.
Laminate flooring installation starts well before planks arrive on site. The subfloor must be flat, clean, and tested for moisture, since even small inconsistencies can prevent planks from locking together correctly or cause noticeable squeaking underfoot.
Redondo Flooring & Design, View Site, lists laminate flooring installation among its documented flooring services for the Torrance, CA area. The information below outlines the general steps involved in a laminate installation project, independent of any single contractor.
Preparing the Subfloor and Checking Moisture Levels
Subfloor condition determines whether laminate performs well over time. A flat, stable base prevents the clicking mechanism between planks from separating under foot traffic.
- Concrete subfloors should be checked for moisture before installation; guidelines commonly cite a maximum of 3 to 5 percent moisture content or a set relative humidity threshold, with a vapor barrier required when readings exceed that limit.
- Wood subfloors typically need moisture content below roughly 12 to 14.5 percent, depending on the manufacturer’s specifications.
- Flatness tolerance is generally no more than 1/8 inch of variation across a 4-foot span; anything beyond that needs sanding or a leveling compound.
Homes near the coast, including many in Torrance, CA, can carry higher ambient humidity for part of the year, which makes subfloor moisture testing a practical first step rather than an optional one.
Acclimating Planks and Choosing the Right Underlayment
Laminate planks need time to adjust to a room’s temperature and humidity before installation. Most manufacturers recommend leaving boxes unopened in the installation space for at least 48 hours, with room conditions held between about 65 and 85 degrees Fahrenheit and relative humidity in the 35 to 55 percent range.
Underlayment selection depends on the subfloor type:
|
Subfloor Type |
Underlayment Need |
Moisture Barrier Required |
|
Concrete slab |
Foam or combination underlayment |
Yes, 6-mil poly minimum |
|
Plywood/OSB above grade |
Standard foam, cork, or felt |
Usually not required |
|
Basement/below grade |
Combination with insulation |
Yes, often thicker barrier |
Pre-attached pad planks should not receive an additional separate underlayment layer, since doubling up can interfere with the locking system and void manufacturer coverage.
Layout, Expansion Gaps, and Finishing Details
Plank direction and spacing affect both appearance and long-term stability. Most guidelines call for installing planks parallel to the main light source in a room and leaving an expansion gap of roughly 5/16 to 3/8 inch around the perimeter to accommodate seasonal movement.
- Stagger end joints by at least 12 inches between rows for a stable, natural-looking pattern.
- Keep first and last rows at least 2.5 inches wide to avoid thin, fragile edge pieces.
- Use spacers consistently along walls, then cover the gap later with baseboard or quarter-round trim.
Material selection also plays a role in long-term indoor air quality. The EPA’s Indoor AirPlus specifications recommend that a large share of interior hard-surface flooring, adhesives, and underlayments carry low-VOC or no-VOC certification from recognized third-party testing programs.
Based in USA, Redondo Flooring & Design serves customers across the Torrance, CA area for laminate flooring projects, among other flooring services documented on its profile.
Frequently Asked Questions
How long does a laminate flooring installation typically take? Most laminate installations in an average-sized room are completed within a single day once subfloor prep and acclimation are already finished, though larger or more complex layouts may extend into a second day.
Does laminate flooring need a moisture barrier over concrete? Yes, a moisture barrier, typically 6-mil polyethylene sheeting, is standard practice over concrete subfloors to prevent vapor migration from damaging planks from below.
Can laminate flooring be installed over existing flooring? It depends on the existing surface; laminate can often go over tile or vinyl if the surface is flat and stable, but carpet and uneven surfaces usually need to be removed first.
What happens if planks are not acclimated before installation? Skipping acclimation can lead to gaps or buckling later, since the planks expand or contract after installation rather than before, when adjustments are easier to make.
Local Service Availability
Readers researching project timelines or subfloor requirements before scheduling work can review published laminate flooring details for View Site alongside the preparation steps outlined above.
A laminate flooring installation that follows proper subfloor testing, acclimation timing, and consistent expansion gaps tends to hold up well for years with minimal maintenance. Homeowners weighing a DIY approach against professional installation should factor in moisture testing equipment, leveling tools, and the time required to prepare a subfloor correctly before starting the project.