Creating a perfectly smooth, professional-looking wall is a goal for every DIY enthusiast and homeowner. While painting may seem straightforward, achieving a flawless finish requires more than just a steady hand and a can of paint. For those searching online for the best tools to accomplish this task, the phrase Paint Rollers For Smooth Finish often appears as a top recommendation. Understanding why the right paint roller matters and how to use it effectively can make all the difference in your next painting project.
Why Paint Roller Choice Matters
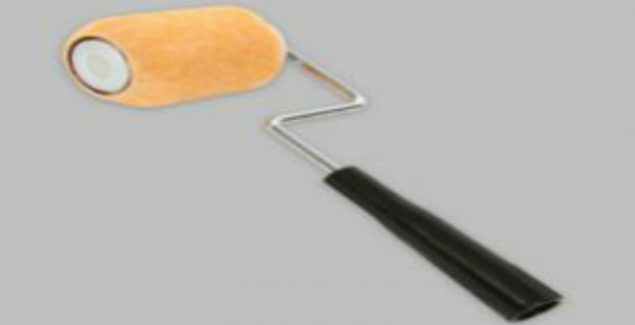
Not all paint rollers are created equal. The type of roller you select directly impacts the smoothness of your finished surface. Rollers come in various materials, nap lengths, and sizes, each designed for specific applications. For those aiming for a sleek, blemish-free wall, choosing the right roller is essential.
Smooth finishes are best achieved with short-nap rollers—typically ¼ inch or less. These rollers are specifically designed for flat, even surfaces such as drywall, plaster, or wood. The shorter fibers apply paint evenly without leaving behind the stippled texture that longer naps can create.
Key Features to Look For
When selecting paint rollers for a smooth finish, keep these features in mind:
- Nap Length: Opt for a ¼-inch or even a ⅛-inch nap. This ensures minimal texture and a glass-like appearance.
- Material: High-density foam or fine woven fabric rollers are ideal for delivering a uniform coat without lint or streaks.
- Roller Size: Standard 9-inch rollers cover large areas efficiently, while smaller rollers are perfect for tight spaces and touch-ups.
- Core Quality: A sturdy roller core resists bending and helps maintain even pressure during application.
Best Practices for Flawless Results
Even with the perfect roller, technique plays a crucial role in achieving a smooth finish. Here are some actionable tips:
- Prep the Wall: Ensure the surface is clean, dry, and free from dust or imperfections. Patch holes and sand rough spots before painting.
- Prime First: Applying a primer creates a uniform base, prevents blotching, and allows the paint to adhere better.
- Load the Roller Properly: Dip the roller evenly into the tray, rolling off excess paint to avoid drips and streaks.
- Use a ‘W’ Pattern: Start painting in a ‘W’ or ‘M’ motion, then fill in the gaps. This technique ensures even coverage and reduces roller marks.
- Work in Sections: Paint small areas at a time, keeping a wet edge to prevent lap marks.
- Don’t Overwork the Paint: Let the roller do the work—pressing too hard can cause streaks and uneven coverage.
Maintaining and Cleaning Your Rollers
Quality rollers can be reused if cleaned properly. For water-based paints, rinse rollers thoroughly with warm water and mild soap. For oil-based paints, use mineral spirits or a recommended cleaning solution. Allow rollers to dry completely before storing them to prevent damage and extend their lifespan.
Achieving Professional Results at Home
A flawless wall is within reach when you choose the right roller and follow expert techniques. By focusing on nap length, material, and proper application methods, you can transform any room with a smooth, professional-grade finish. Whether you’re refreshing a single wall or tackling a full home makeover, paying attention to these details ensures your hard work results in the polished look you desire. With the right tools and preparation, every painting project becomes an opportunity to achieve stunning, smooth walls that enhance your living space.